

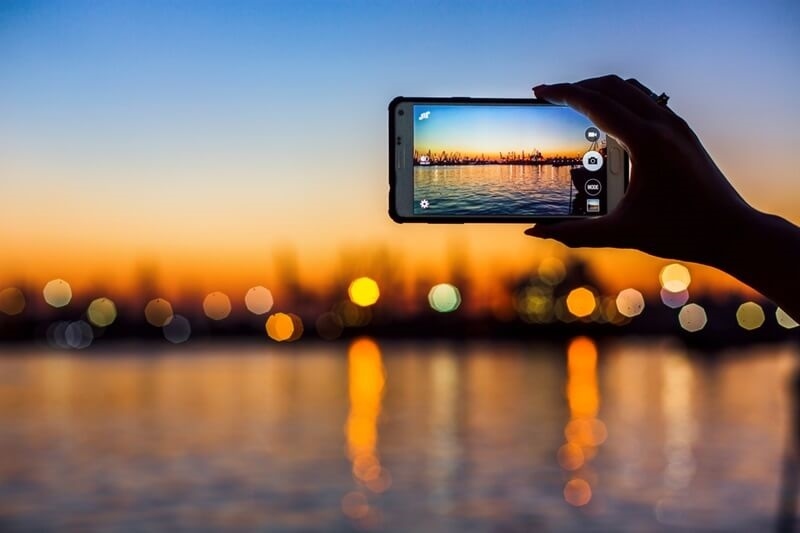
Smartphones today have cameras capable of holding their own against some professional-grade photography equipment. With the rise of social media sites like Instagram and TikTok, smartphone photography has become a part of daily life for many, including not just professional photographers. From snapping fantastic sunsets to taking sharp portraits or playing with artistic shots, your phone can do more than you imagine.
This blog provides smartphone photography hacks, such as night mode camera hacks, smartphone tripod hacks, DIY rigs for clip-on lenses, and portrait mode hacks. Read on to see whether you wish to hone your skills and capture amazing photos.
Smartphone photography may be defined as photography with the mobile phone’s built-in camera. Smartphone cameras have developed incredible hardware and software improvements over the years. Integrating AI improvements, high-resolution sensors, and feature-specific modes such as Portrait Mode and Night Mode has enabled users to achieve comparable outputs to DSLR cameras from their pockets.
Because smartphones are portable and simple to use, they are employed for travel photos, food photos, portrait shots, and even commercial content production. With hacks, you can harness your phone's full potential without spending money on expensive photography equipment.
Taking pictures in nighttime conditions has always been photography's biggest dilemma. However, a Night Mode feature, which solves this, usually comes pre-downloaded in most contemporary smartphones. Nevertheless, relying solely on Night Mode does not always get you a perfect image. Use some night mode picture tips to create great images:
The secret to amazing night photos is stability. Hand movement, even the smallest, will blur it. Experiment with placing your phone on a solid surface or use a tripod (or one of the smartphone tripod hacks listed below).
If your phone supports manual controls during Night Mode, set the ISO and shutter speed manually. Lowering the ISO reduces noise, and slowing down the shutter speed admits more light.
Let the natural light or the streetlights do it. Blotting out details and colors in your photo, making them flat through overexposure with the help of supplementary flash or outside light sources, is not what you want.
Tap where you'd rather have the camera focus before taking the picture. This allows the camera to meter the light in that area correctly.
Even after you have taken a shot, you can tweak it even more using apps by which you can adjust brightness, contrast, and sharpness, eliminating noise remarkably.
These tips for taking night mode photos will significantly enhance your potential to take sharp, noise-free, well-illuminated photographs at night.
A tripod is the key to stable, clear photos, particularly when shooting in low light or time-lapse. Suppose you do not have one; no need to worry. These smartphone tripod hacks will do just fine without costing you anything extra.
Employ something such as a book, a cup, or a pile of boxes to support your phone. Arrange them carefully to achieve the desired height and angle.
You can use big binder clips as a phone holder. Attach them to a hard surface, and put your phone in between the metal jaws safely.
Tie your phone with a rubber band or hair tie to a bottle, chair, or other hard object. But make sure that the lens of your phone is clean.
If you have a car dashboard phone holder, use it indoors on a shelf or desk to be a good holder for your photography.
Make a makeshift tripod out of your selfie stick by putting it between two steady objects, such as chair backs or bookshelves.
These smartphone tripod hacks are handy for when you need stability but do not have access to professional equipment.
Clip-on lenses boost the photographic features of your phone by offering macro, wide-angle, or fisheye effects. With no professional kit, you can create a clip-on lens DIY rig with everyday items.
A small magnifying glass can serve as a macro lens. Attach or tape it to your phone camera. Experimentation to achieve a clear focus on your subject.
Dig out small lenses from old or non-functional cameras if you have some. Secure them with binder clips or hairpins and attach these to your phone to create your own rig.
Thick prescription reading glasses can also be used as temporary macro lenses. Place them in front of your phone's camera for macro photography.
Some enthusiastic DIYers take out the lenses from laser pointers and mount them as macro lenses for photography. Secure them above your phone's lens using a small clip or even modeling clay.
After obtaining your lens, position and secure it on your phone camera using a clothespin, paperclip, or phone holder.
These clip-on lens DIY rigs can offer functionality to your smartphone for experimental and innovative photography techniques.
Portrait Mode on phones mimics the depth of field effect, smearing the background while maintaining the subject in focus. If used appropriately, the mode can take pictures that are as good as those taken with a pro camera. Here are some tips to employ Portrait Mode and take your photos to a higher level:
Photograph Portrait Mode using natural light. Place your subject in front of a window or take the shot during the golden hour for soft, flattering lighting.
Maintain a decent distance from your subject. Too close, and the blur won't be natural; too distant, and the subject might not become prominent as desired.
The background can significantly influence the final image. Use clean backgrounds to maximize the depth effect and help the subject stand out more distinctly.
For portraits of individuals or animals, brush the eyes each time to guarantee focus. This guarantees the sharpest point stays where it would naturally happen and attracts people’s eyes to it.
Some cameras enable you to customize the blur strength after taking the photo. Tune this setting until the blur happens the way you want.
By implementing these portrait mode tips, you can maximize your smartphone's portrait camera features and easily take excellent photos.
Phone photo noise typically results in graininess, particularly when photographing at night or high ISO. Below are some guidelines on how to minimize noise in phone photos to obtain cleaner, sharper photographs.
Where possible, manually reduce your ISO to a lower level. Higher ISO numbers illuminate the sensor more but make more noise.
Avoid underexposing photos since making them lighter later will increase noise. Get the level of exposure right when taking the photo.
Motion blur will help make the image noisier. Keep your phone steady or attempt one of the smartphone tripod tricks to make the image sharp.
Certain apps, like Snapseed or Lightroom Mobile, have built-in noise reduction. Use them sparingly to preserve detail and avoid losing grain.
There are also phones supporting RAW shooting. RAW images retain more data of the image, making it simpler to remove noise upon edit.
Smartphones are so much more than they are as mere communication devices; they're incredible creative devices that can create incredible visual material. Whether it's shooting nighttime cityscapes, getting the most out of portraits, or using smart smartphone tripod tricks to level out your phone, small adjustments can have big effects on photography.
With the proper night mode photography tips, DIY rigs such as a clip-on lens DIY rig, and helpful portrait mode tips, amateur photographers can also take pro-quality photos.
This content was created by AI